You don't need to sit in a salon chair to be fabulous. If you've been wondering how to do highlights at home, it’s not so far-fetched—from choosing the right kit to getting an even, luscious glow of highlights. With TLC and some equipment, pro-quality highlights are totally DIY-bright.
Why DIY Highlights Are Catching On
From all over, people are avoiding the salon for convenient in-house colouring treatments—and they have plenty of reasons to. Homemade highlights offer convenience, affordability, and control over your looks. Bringing back sun-stricken hair or adding depth to dark hair, doing highlights yourself saves time and money—kind of makes you a genius in the face of inflation and other environmental factors.
The majority of hair lightener preparations are safe when used in moderation and as intended, according to the National Library of Medicine (NLM). How you do it matters a lot. If you get it wrong, your tones could turn brassy, you might also experience hair breakage too.
Choosing the Most Suitable Highlighting Technique for You
Decide on the best technique first, according to your comfort level and hair type. The most common do-it-yourself techniques are:
-
Foil Highlights – Perfect for detail and control
-
Balayage – Freehand technique for a light, sun-kissed finish
-
Cap Highlights – Perfect for beginners to colouring short to medium hair
Balayage is a great option if you are after a colour that doesn’t need frequent maintenance. For dramatic, defined pieces, foil is your new gem. Beginners can appreciate the control of highlighting caps.
Prep is Everything – Tools You'll Need
For a clean application, always get your station ready before you mix anything. Here's what you will be using:
-
Highlighting kit (with developer, gloves, and brush)
-
Mixing bowl
-
Sectioning tail comb
-
Foil or cap (depending on technique)
-
Clip or hair ties
-
Timer
-
Old T-shirt or towel
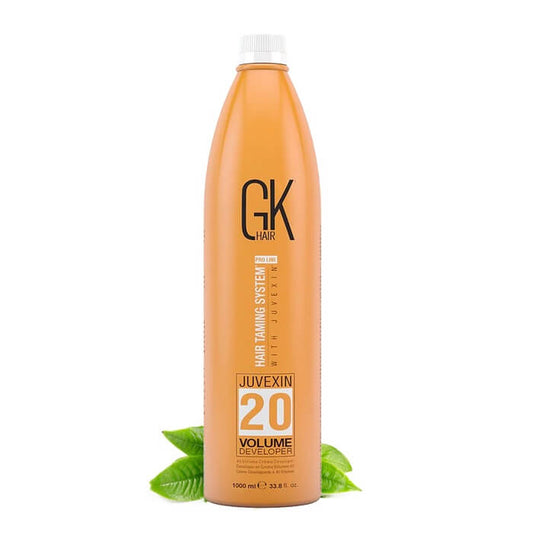
GK Hair's CREAM Developer is a gentle, salon-tested formula you can rely on when mixing your lightener. It's designed to offer protection against damage while delivering beneficial lift—especially well-suited to fine hair or hair that is coloured.
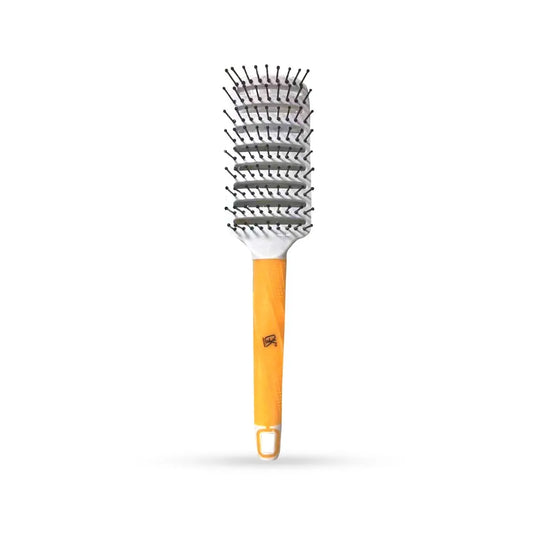
Brushes aren't forgotten either. GK Hair's Black Application Brush provides greater control than standard kit applicators and is less of a struggle to maneuver through layers.
Step-by-Step: How to Do Highlights at Home
Step 1: Strand Test
Ensure you run a patch test first. This will show you how your hair will handle the formula and what colour you will end up having.
Step 2: Section Your Hair
Section your hair into four equal parts with your tail comb. Clip each portion up. Take it slow—neat sections enable you to apply evenly and avoid overprocessing. We recommend GK Hair’s Shark Clips.
Step 3: Apply the Product
Using your application brush, paint the lightener onto fine hair to be highlighted. For more defined highlights, foils are the way to go—they really make the colour pop. To get that balayage look, just sweep the lightener through the mid-section to the ends of your hair.
Step 4: Time It Right
Adhere to kit instructions regarding time of processing—typically 25 to 45 minutes based on your colour base and desired amount of lift. Use a timer. Overprocessing is the cause of potential gigantic damage.
Step 5: Rinse and Condition
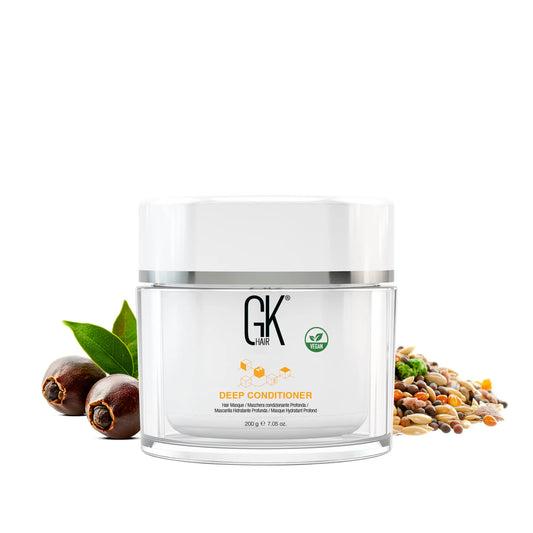
Take your time to rinse. Give your hair a good rinse under running water. Don't shampoo right away. Instead, use a moisturizing mask such as GK Hair Deep Conditioner. It conditions and firms newly highlighted hair to prevent dryness or brittleness.
What to Do After Highlighting
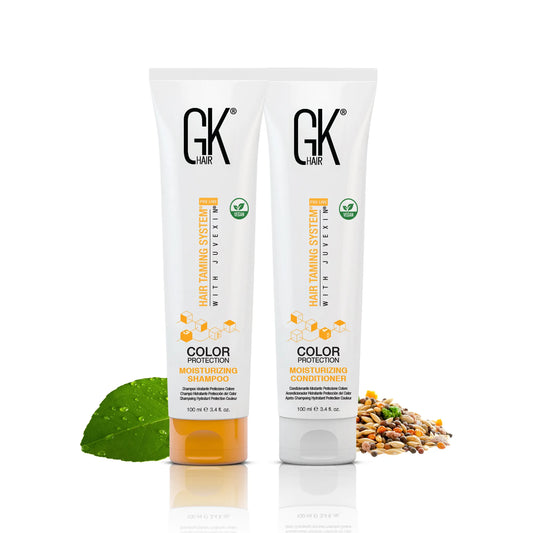
Hair is most vulnerable after colouring. For the first 48 hours, avoid heat styling and harsh shampoos. Apply sulfate-free shampoo like GK Hair’s Moisturizing Shampoo and Conditioner that conditions and keeps the hair hydrated and coloured.
Each week, apply a purple shampoo to combat brassiness. GK Hair’s Bombshell Shampoo is great, especially on blonde or caramel highlights. It eliminates yellow tones without dehydrating your hair. Coloured hair must be shampooed less frequently—2–3 times a week—to extend life and maintain cuticle integrity.
Mistakes to Avoid Highlighting
Even with the best equipment, there are a couple of mistakes that can ruin your result. Here's what not to do:
-
Skipping the Strand Test – Susceptible to reaction or shock colour
-
Lightening Oily, Dirty Hair – Product will not deposit evenly
-
Overusing Lightener – Breakage or harsh tones may ensue
-
Leaving it on for Too Long – Timing is everything
Don't forget to moisturize after. Over time, highlighted hair becomes porous and dries very quickly.
Want more DIY guides? Check this out: How to Blowout Your Hair at Home in 4 Steps
Keeping Your Highlights Under Control at Home
Keeping your highlights in great shape is about developing good habits. Here are three habits you should stick to:
-
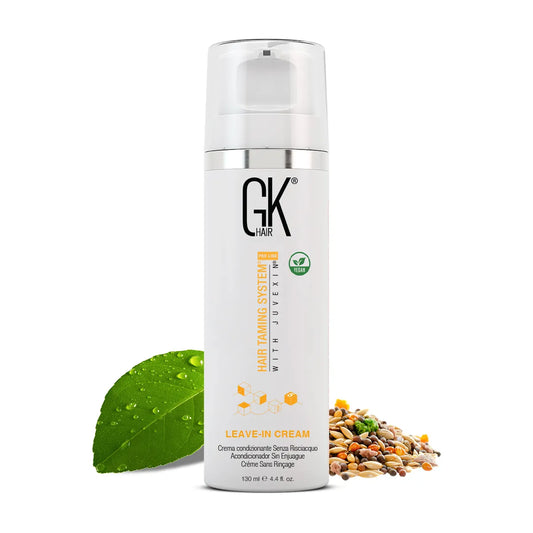
Sun damage is real. However, using a UV protector like GK Hair’s Leave-In Conditioner can shield your hair from damage.
-
Comfort for your hair is sleeping on a satin pillowcase—it helps reduce friction.
-
Avoid using heat tools often, and always use a heat-protecting product like GK Hair’s ThermalStyleHer Cream while using heat tools. Also, trim your ends every 6–8 weeks. By doing that, your hair remains in good shape and stays fresh.
Final Thoughts
No worries about trying highlights at home. You just need to be well-prepared, get your tools ready, and with a little technique, voila!—you have that salon-type highlight in the comfort of your own home.





Laissez un commentaire